Manage Workspaces
Workspaces sit between your organization and projects in the hierarchy: Organization > Workspace > Project. Use workspaces to group related projects and share integrations across them.
Prerequisites
- You are signed in to the XpressAI Platform.
- You have organization-level access. You encounter the Organization concept when you need to manage multiple workspaces or configure settings that apply across projects. Most users interact with workspaces through their project settings.
Steps
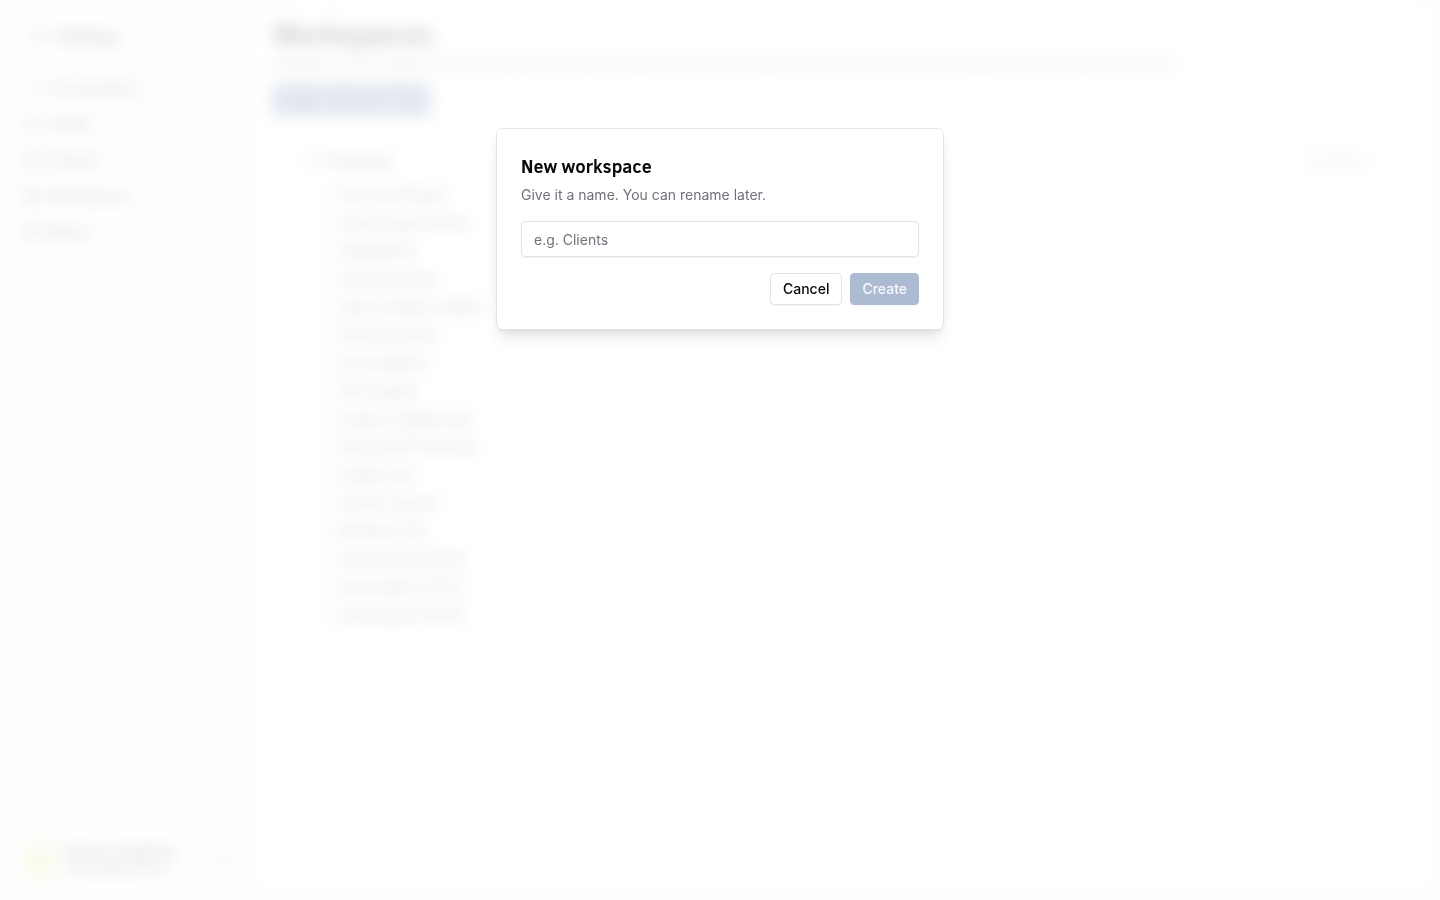
Create a workspace
- Navigate to your Organization settings.
- Select the Workspaces tab.
- Click Create Workspace.
- Enter a name for the workspace.
- Click Create.
Move a project between workspaces
- Navigate to Project Settings for the project you want to move.
- Under Workspace, select the target workspace from the dropdown.
- Confirm the move.
Rename a workspace
- Navigate to Organization > Workspaces.
- Click the workspace you want to rename.
- Edit the name field.
- Click Save.
Delete a workspace
- Navigate to Organization > Workspaces.
- Click the workspace you want to delete.
- Click Delete.
- Confirm the deletion.
warning
Deleting a workspace does not delete the projects inside it, but you must reassign those projects to another workspace first.
info
Integrations configured at the workspace level are shared across all projects within that workspace. This means you only need to set up credentials once per workspace.
Verify
- New workspaces appear in the Organization > Workspaces list.
- Projects moved to a new workspace reflect the change in their settings.
- Workspace-level integrations are accessible from all projects within the workspace.