Create Your First Agent
In this tutorial, you'll deploy your first AI agent from a template. The whole process typically takes just a couple of minutes -- the platform handles provisioning, configuration, and deployment for you.
Prerequisites
- A platform account (Getting Started)
Steps
1. Navigate to the Agents page
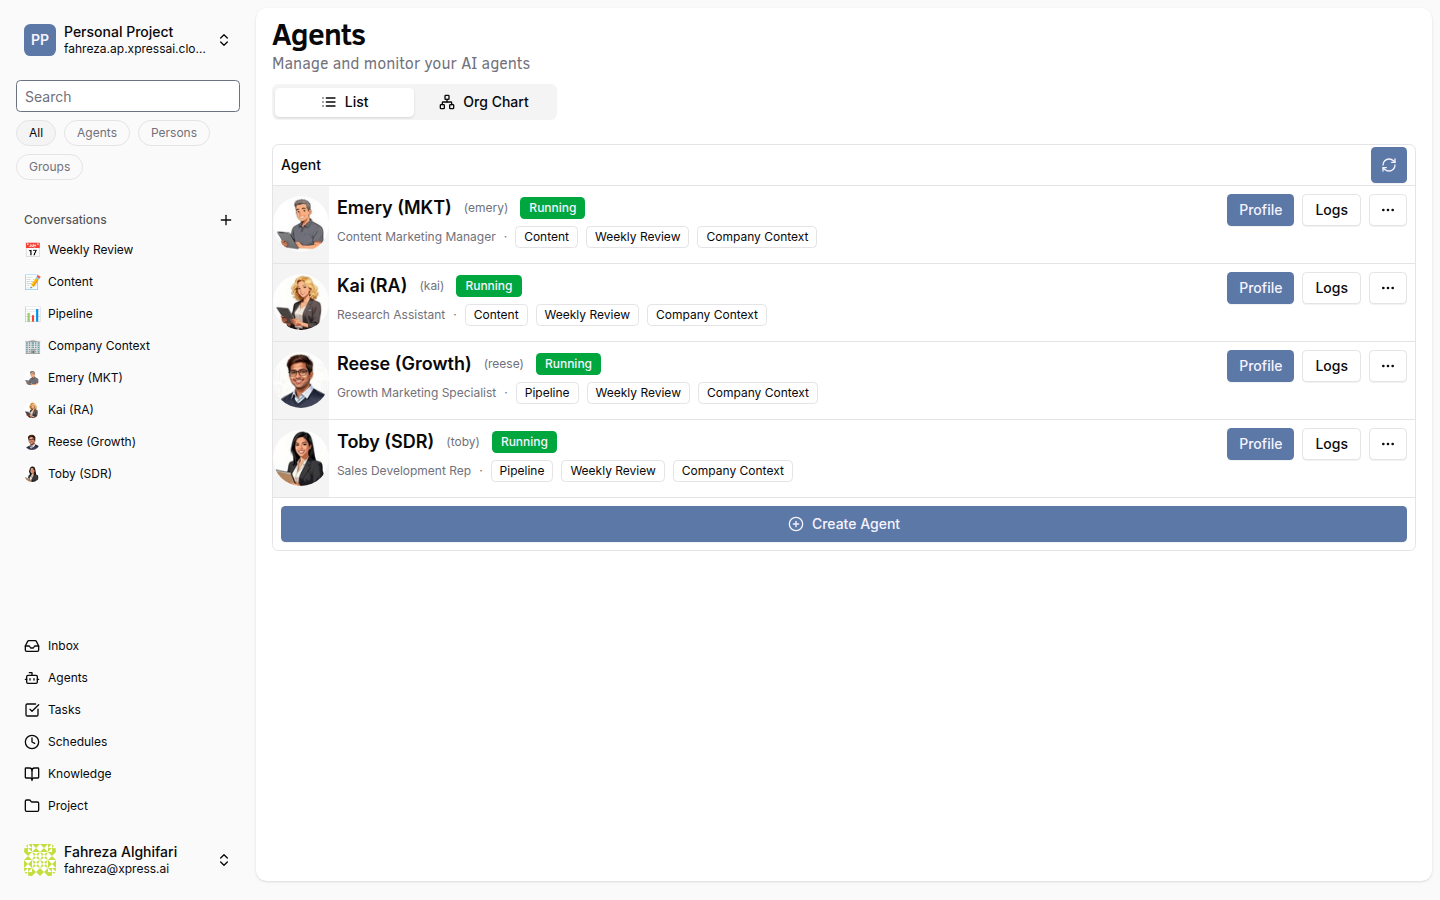
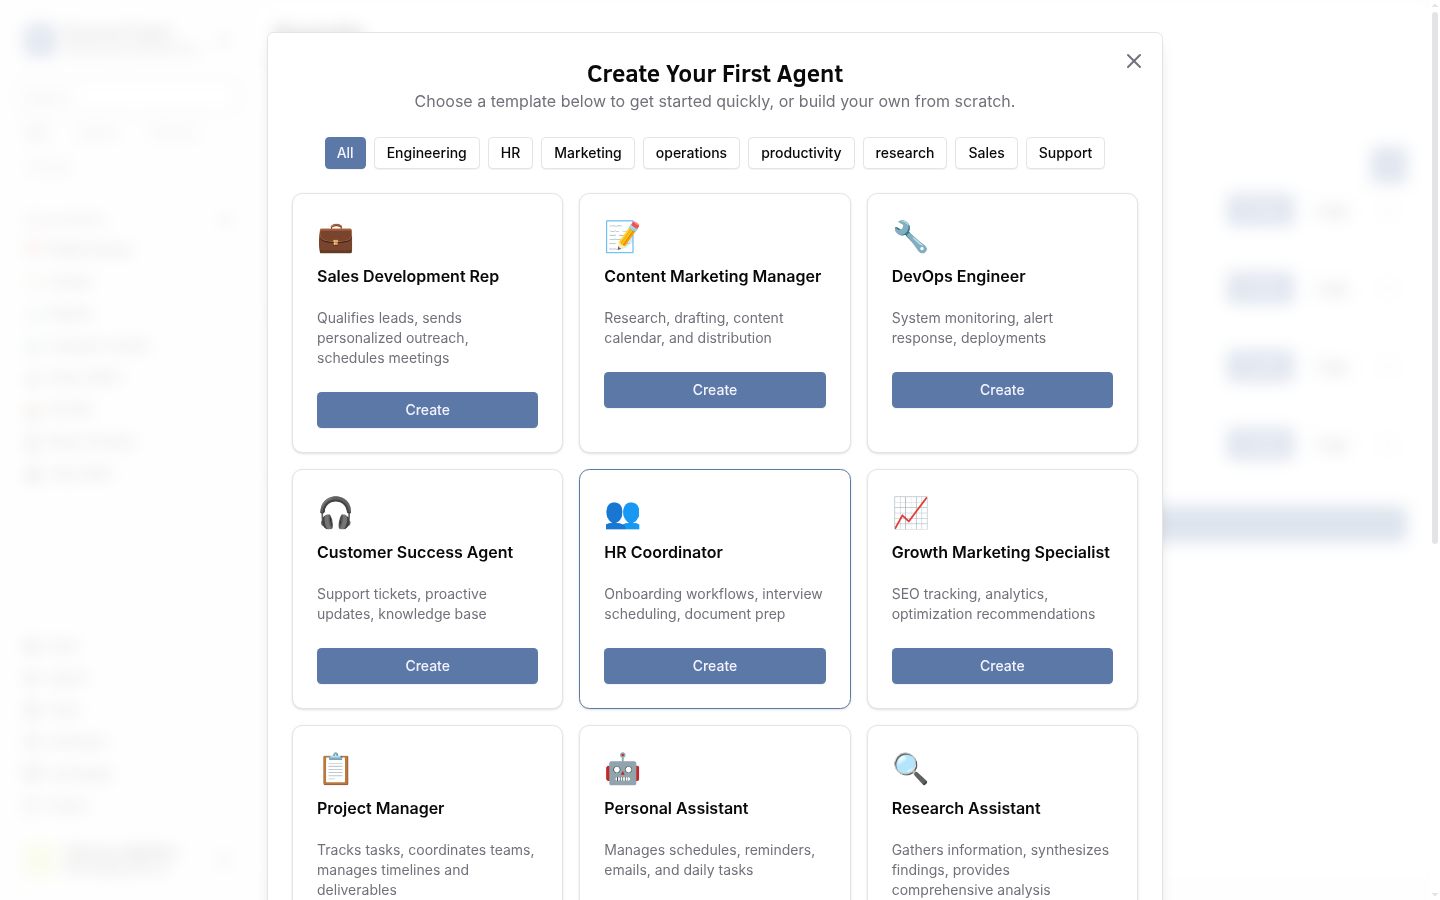
In the sidebar, click Agents. If you haven't created any agents yet, you'll see the Agent Catalog -- a gallery of pre-built agent templates.
2. Browse the template catalog
The catalog offers 10 agent templates, each designed for a specific role:
| Template | What it does |
|---|---|
| Sales Dev Rep | Prospect outreach, lead qualification, pipeline management |
| Content Marketing | Blog posts, social media, content calendars |
| DevOps Engineer | Infrastructure, CI/CD, monitoring and alerting |
| Customer Success | Client onboarding, check-ins, churn prevention |
| HR Coordinator | Hiring workflows, onboarding, policy Q&A |
| Growth Marketing | Campaign strategy, funnel analysis, A/B testing |
| Project Manager | Sprint planning, status tracking, team coordination |
| Personal Assistant | Schedule management, task reminders, day planning |
| Research Assistant | Deep research, summarization, competitive analysis |
| Developer | Code review, debugging, technical documentation |
3. Select the Personal Assistant template
For this tutorial, pick Personal Assistant. This agent manages schedules, tasks, and reminders -- a good starting point because you can interact with it immediately without any domain-specific setup.
Click the template card to select it.
4. Name your agent
The platform auto-generates a human name for your agent (e.g., "Toby" or "Mika"). You can keep this name or type a custom one. The name is how you'll refer to the agent in conversations and task assignments.
5. Create the agent
Click Create. Behind the scenes, the platform:
- Provisions the agent's environment and copies the template configuration (tools, procedures, and skills).
- Sets up the agent's memory system and knowledge base.
- Starts the agent service.
6. Wait for the agent to start
The agent card shows a status indicator. Wait for it to turn green with the label Running. This typically takes 15-30 seconds as the container initializes.
The first deploy can take slightly longer than subsequent starts because the container image needs to be pulled. After that, restarts are faster.
7. Understand what was created
Your agent now has its own workspace on the platform containing:
- Config -- the agent's personality, system prompts, and behavior settings.
- Tools -- Python functions the agent can call (file operations, web search, calendar access, etc.).
- Procedures -- step-by-step workflows the agent follows for specific tasks.
- Skills -- higher-level capabilities composed from tools and procedures.
- Memory -- the agent's working memory and long-term knowledge store.
The agent runs as a containerized service and communicates with the platform via API. It has its own cognitive architecture -- a reasoning loop that plans, acts, and reflects rather than just generating text.
What you've done
- Opened the Agent Catalog and reviewed the available templates
- Created a Personal Assistant agent from a template
- Watched the platform provision and deploy the agent
- Confirmed the agent is running
Next steps
Your agent is live. Head to Chat with Your Agent to start a conversation.
See also