Schedule a Recurring Job
Some work needs to happen on a regular cadence -- daily reports, weekly data syncs, hourly monitoring checks. Instead of manually triggering these each time, you can create a schedule that runs automatically.
Prerequisites
- A running agent (Create Your First Agent)
- Familiarity with cron expressions (explained below if you're new to them)
Steps
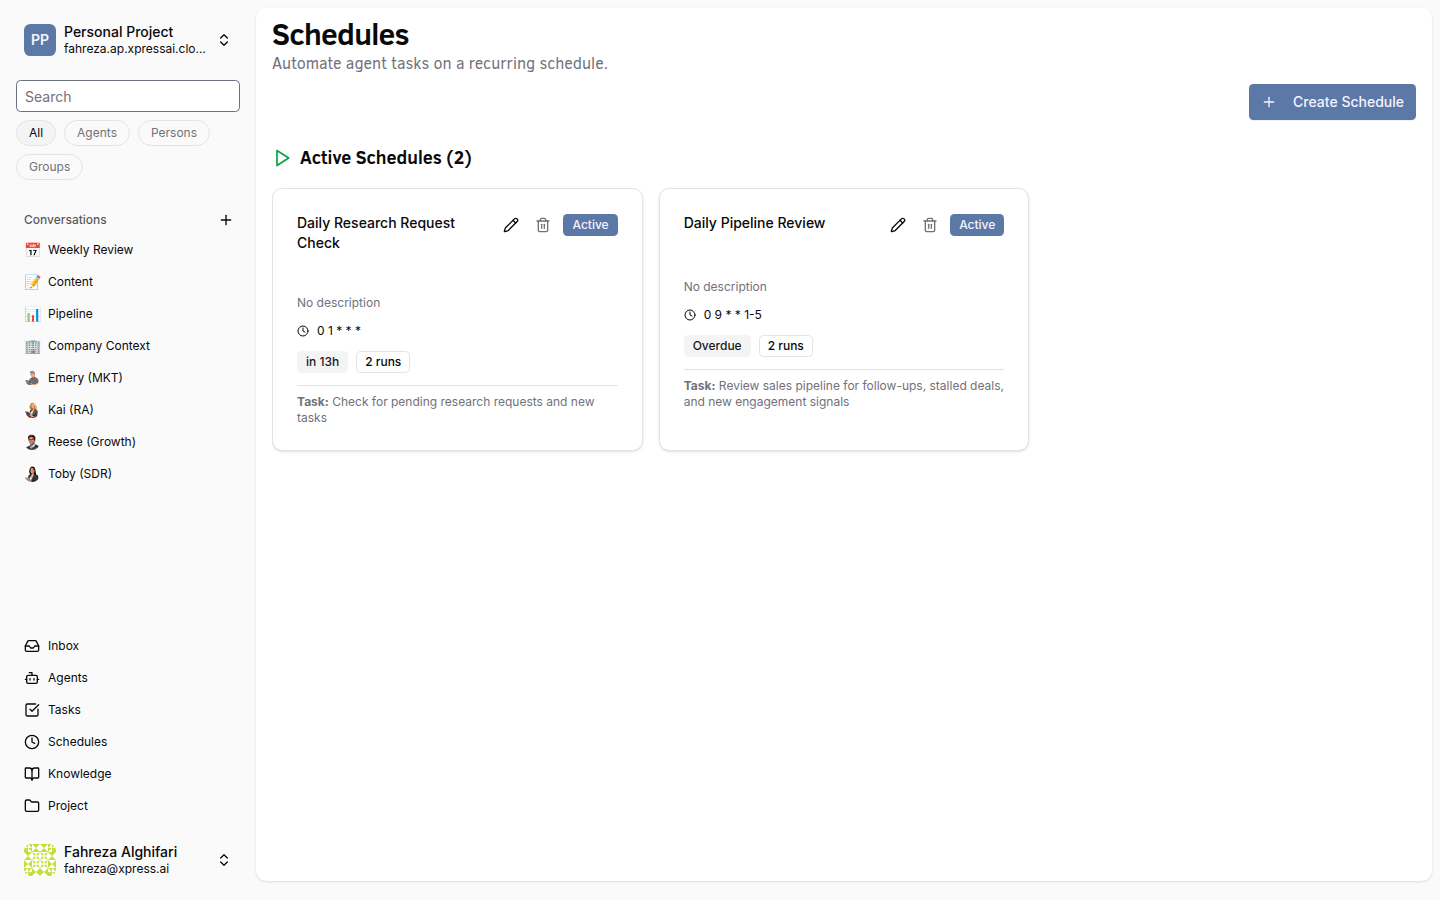
1. Navigate to the Schedules page
In the sidebar, click Schedules. This opens the schedule management view where you can see all configured schedules and their next fire times.
2. Create a new schedule
Click Create Schedule. You'll be prompted to choose a job type:
- Xircuits workflow -- a visual workflow built in the Xircuits editor. Good for complex multi-step automations with branching logic.
- Custom Command -- a shell command executed in the agent's environment. Good for scripts, data pulls, and straightforward automation.
For this tutorial, select Custom Command.
3. Configure the command
Enter the command you want to run on a schedule. For example:
echo "Daily health check at $(date)" >> /data/home/logs/health.log
In practice, this would be something more substantial -- a Python script, a data export, a report generator. But for learning the mechanics, a simple command works fine.
4. Set the cron expression
Cron expressions define when the job runs. The standard format uses 5 fields:
┌───────────── minute (0-59)
│ ┌───────────── hour (0-23)
│ │ ┌───────────── day of month (1-31)
│ │ │ ┌───────────── month (1-12)
│ │ │ │ ┌───────────── day of week (0-7, where 0 and 7 are Sunday)
│ │ │ │ │
* * * * *
Here are common examples:
| Expression | Meaning |
|---|---|
0 9 * * 1-5 | Every weekday at 9:00 AM |
*/30 * * * * | Every 30 minutes |
0 0 1 * * | First day of every month at midnight |
0 8,17 * * * | Twice daily at 8:00 AM and 5:00 PM |
0 0 * * 0 | Every Sunday at midnight |
For this tutorial, enter:
0 9 * * 1-5
This runs the job every weekday at 9:00 AM.
Just provide the standard 5-field cron format. The platform automatically handles the conversion for you.
5. Select a timezone
Choose the timezone the schedule should operate in. The cron expression is evaluated relative to this timezone, so "9:00 AM" means 9:00 AM in whichever timezone you select.
6. Pick an agent pool
Select which agents are eligible to execute this job. You can choose a specific agent or an agent pool (a group of agents that can share the workload -- the platform picks an available agent from the pool when the job fires). For this tutorial, select the agent you created earlier.
7. Save the schedule
Click Save. The schedule appears in the list showing:
- The cron expression in human-readable form
- The next fire time -- when the job will run next
- The current status (enabled/disabled)
8. Test with Run Now
You don't have to wait until 9:00 AM to see if it works. Click Run Now to trigger the job immediately. This executes the command right away, outside of the cron schedule, so you can verify everything is configured correctly.
9. View execution history
After the job runs (either via "Run Now" or on schedule), you can view the execution history. Each run shows:
- Status -- whether the run succeeded or failed
- Start time and end time
- Logs -- the stdout/stderr output from the command
Click on any run to inspect its details.
If a job fails repeatedly, check the logs for the root cause. Common issues include missing files, permission errors, or incorrect paths. The schedule keeps firing on its cron cadence regardless of whether previous runs succeeded or failed.
10. Enable and disable schedules
Every schedule has an enable/disable toggle. Disabling a schedule pauses it without deleting the configuration. This is useful for:
- Temporarily stopping a job during maintenance windows
- Pausing a schedule while you debug an issue
- Keeping the schedule definition around for future use
Toggle it back on, and the schedule resumes from the next matching fire time.
What you've done
- Created a custom command schedule with a cron expression
- Configured timezone and agent pool
- Tested the schedule with Run Now
- Reviewed execution history and logs
- Learned how to pause and resume schedules
Next steps
You've covered the core platform features -- agents, conversations, tasks, teams, and schedules. From here, you can explore more advanced capabilities:
- Build a Knowledge Base -- give your agents searchable access to your documents
- Connect Google Workspace -- let agents read and write Google Docs, Sheets, and Slides
- Voice Call with an Agent -- have a real-time voice conversation
See also