Create and Run a Workflow
Build visual workflows by connecting component nodes, then run them as one-off jobs with configurable parameters.
Prerequisites
- You are signed in to the XpressAI Platform.
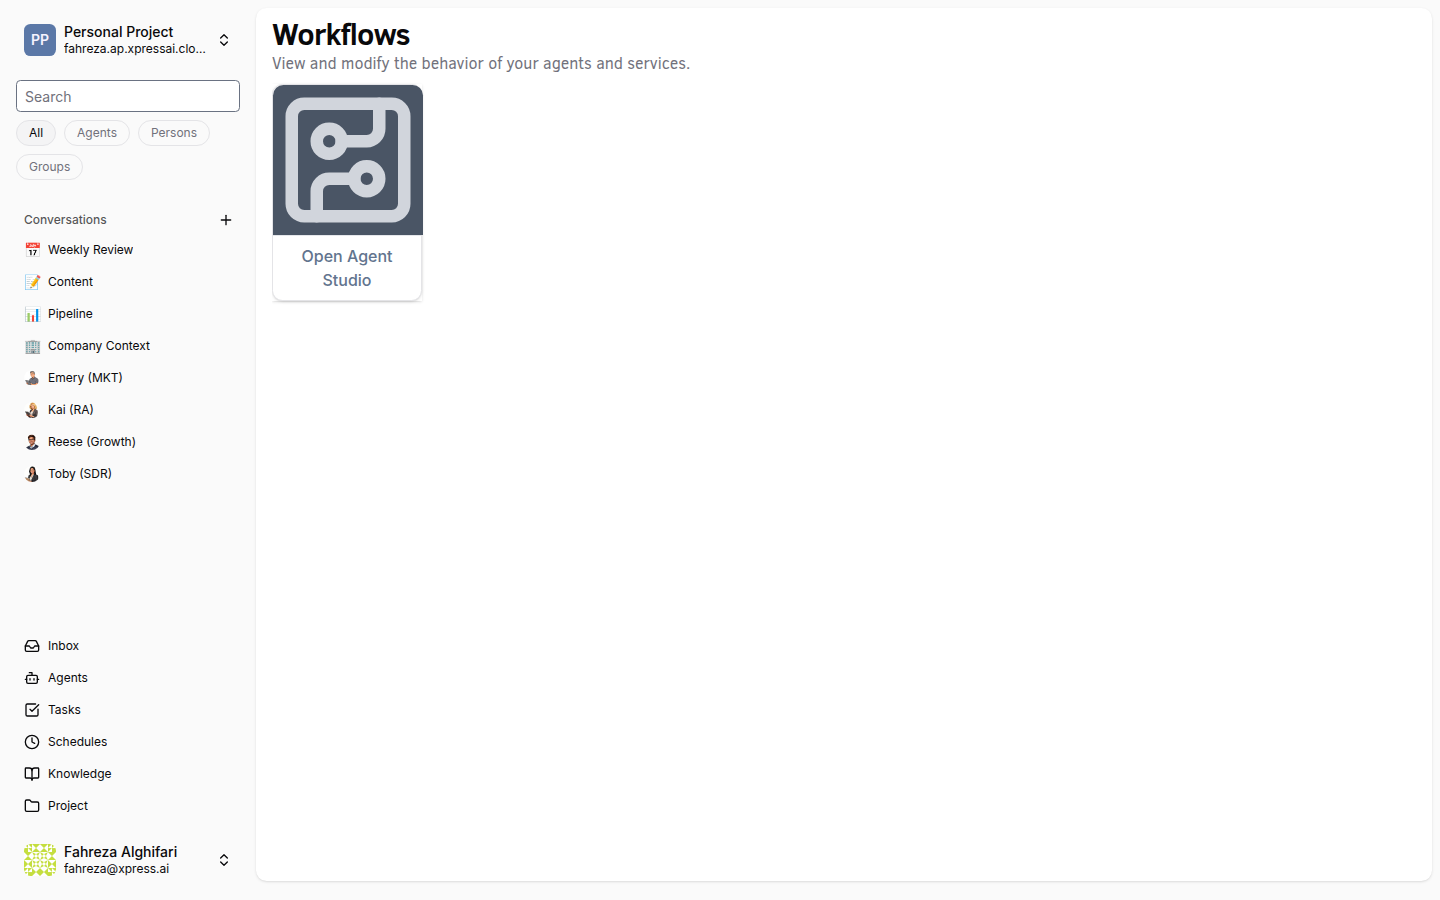
- Xircuits Studio is open (see Open Xircuits Studio).
Steps
Create a workflow
- In Xircuits Studio, click File > New > Xircuits Workflow.
- A blank canvas opens.
- Drag components from the Component Library panel onto the canvas.
- Connect component nodes by clicking and dragging from an output port to an input port.
- Configure each component's parameters by clicking on it and editing the properties panel.
- Click Save to save the workflow as a
.xircuitsfile.
Compile the workflow
- Click the Compile button in the toolbar.
- The workflow is validated and compiled. Any errors are displayed in the console panel.
Run the workflow
- Click the Run button in the toolbar.
- (Optional) Set runtime arguments and parameters in the run dialog.
- Click Execute to start the job.
- Monitor progress in the console output panel.
tip
Start with simple two- or three-node workflows to familiarize yourself with the component connection model before building complex pipelines.
info
Running a workflow creates a one-off job. For recurring execution, create a schedule (see Create a Recurring Schedule).
Verify
- The workflow file appears in the file browser with a
.xircuitsextension. - Compilation completes without errors.
- The job runs and output appears in the console panel.